
1. Pick Your Spot
Locate an area along a stream that has potential gold bearing gravels. You will be most successful prospecting in areas that have a known occurrences of placer gold. Dig down deep into the stream bed until you get to bedrock. Shovel a medium amount of gravel into your gold pan. It is best not to overload your pan, but rather choose an amount that isn’t too heavy or burdensome to pan efficiently.
2. Remove Large Rocks from Gold Pan
Pick out the larger rocks from the pan, rinsing them with water to keep any gold that may be clinging to the rock contained in your pan before you toss them aside. (Make sure your not pitching out a big gold nugget!) You may consider using a classifier, which will sift out the larger rocks and leave just the smaller gravels to be panned out.
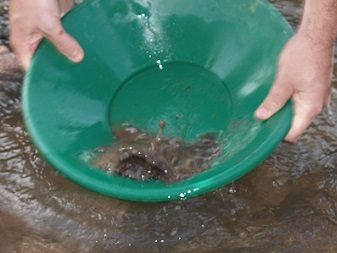
3. Wet Material
Submerge the gold pan in the water and agitate the gravels by swirling the pan in a vigorous side-to-side or circular motion. Put your hand into the pan and break apart any clumps of clay or organic material that might trap your gold. Continue rinsing and tossing any larger rocks that may still be in your gold pan. Continue agitating the contents of the gold pan, this will allow the gold to settle toward the bottom.
4. Pan Out the Lighter Gravels
Now you can begin to reduce some of the material from your pan. Do this by tipping the pan away from your body at a slight angle. Make sure that there is plenty of water in the pan during this process to allow for the heavier contents to move downward in your gold pan. You can slowly work some of the lighter gravels out of your pan. Every so often, tip your pan up and agitate the mixture again to ensure that all the gold is staying toward the bottom of the pan. With a little practice this process can go pretty quickly, but don’t sacrifice valuable gold for speed. It is best to take your time and do it right. Repeat this process until you are down to just a small amount of fine heavy material.
5. Carefully Remove Black Sands
At this point everything in your pan will be heavier minerals, probably some black sands and hopefully some gold! Extra care should be taken to make sure that water is always in your pan at this point. The separation gets more difficult because all the material is heavy, so once again take it slow by gently agitating the material, trying to remove as much of the black sands as possible without sacrificing gold.
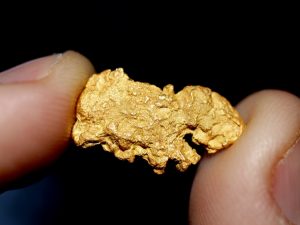
6. Remove any Gold Nuggets or “Pickers”
When you get down to a small amount of material, you should be able to look into the bottom of your pan and (hopefully!) see some gold. If you are lucky and you get a nice gold nugget or flake, use a pair of tweezers and carefully pick it up and place it in your container. Pick out any gold that you can grab with your tweezers, then use a snuffer bottle for final cleanup. You can gently push water at the black sands and then suck the fine that is left behind into your snuffer bottle. It can take a bit of practice to get just the right amount of pressure it move the black sands from the gold, as with everything take your time and it will come.
7. Keep Prospecting!
Remember that you won’t find gold in every pan, so don’t get discouraged if you don’t find any gold at first. After all, they call it “prospecting” for a reason, you have to go out there and find it!